A new rear bumper for my 3rd Gen Hilux Surf

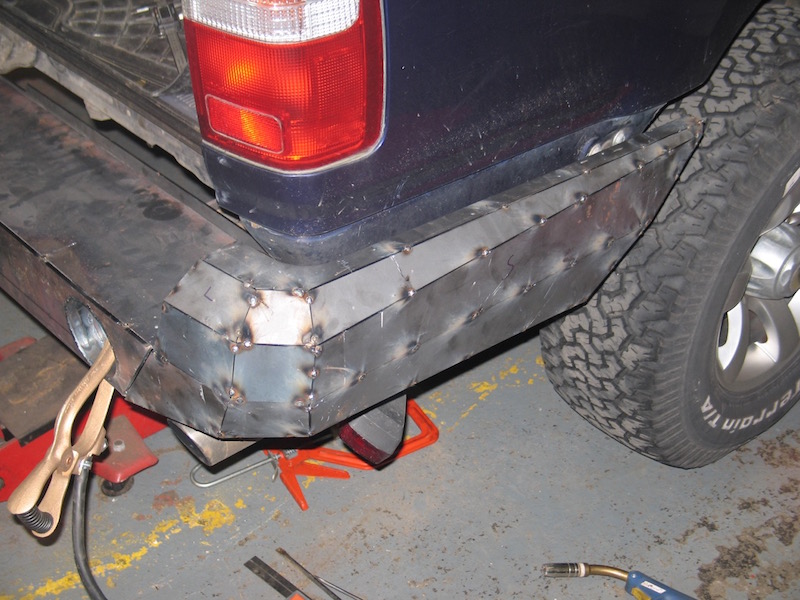
My 1996 Surf was suffering from the usual rusted through rear bumper. I could’ve got a stock replacement from Roughtrax, but I fancied having a go at making something like Bandit Runner’s. Fortunately, Bandit (aka Jeremy) offers customised plans for his bumpers.
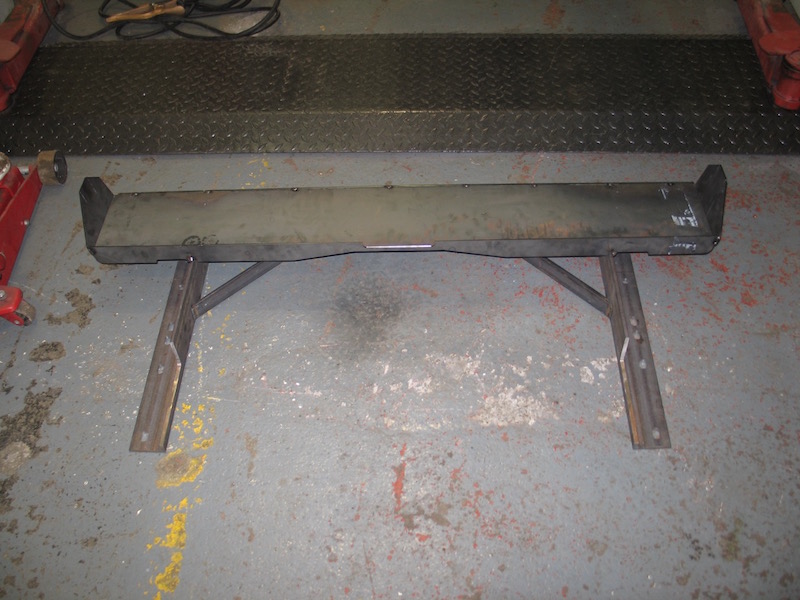
Jeremy was great to work with, and before long I had the plans. The bulk of the bumper is made from 3mm steel, but the main cross beam called for some 6mm angle. Unfortunately, the imperial sized angle specced in the plans isn’t readily available in the UK. To get around this, I had that part folded out of 6mm steel instead. Grail Laser Profiles laser cut all the parts and bent the 6mm steel for me.
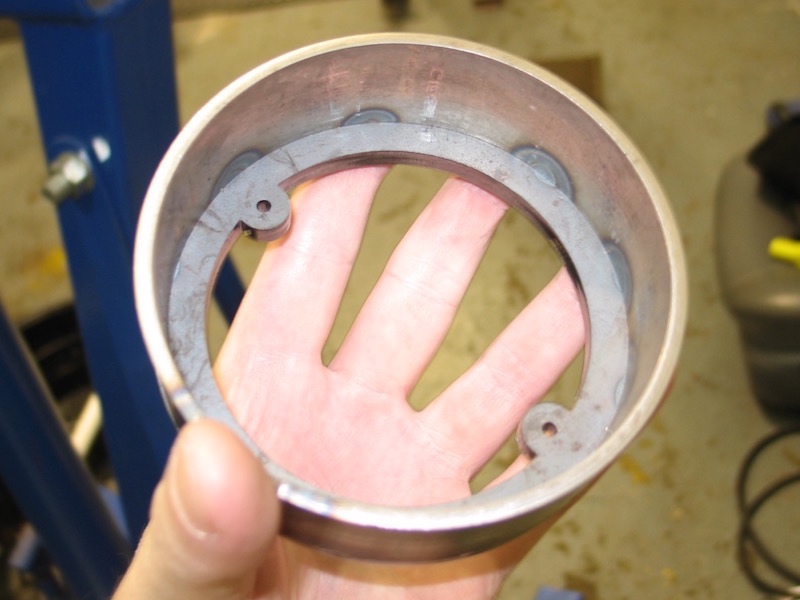
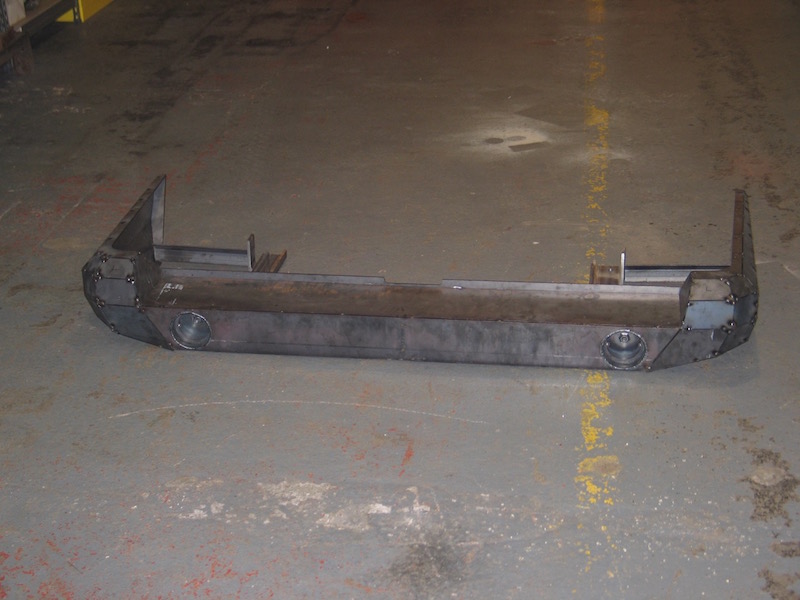
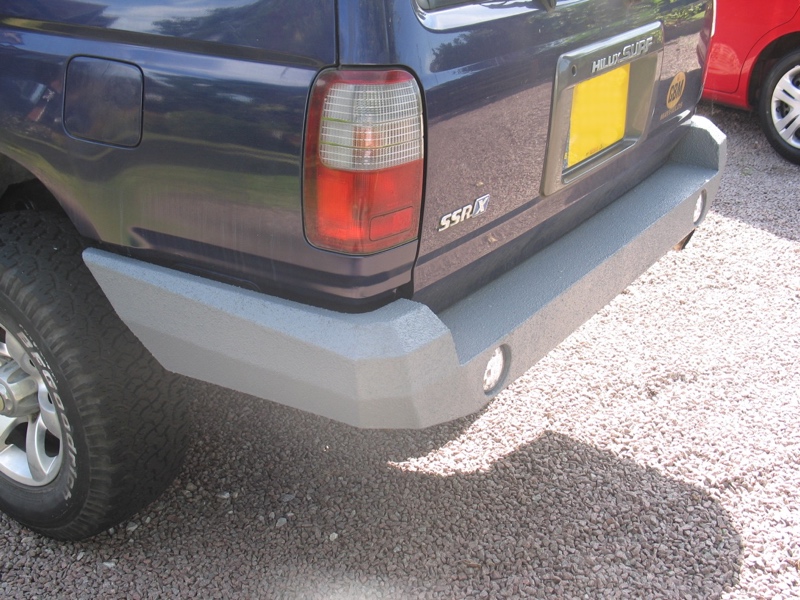
Imported Surfs are fitted with a cheap and nasty rear fog light to meet the MoT requirements, so replacing the rear bumper was a good opportunity to incorporate something better. I found a nice E-marked LED fog lamp at Car Builder Solutions that would fit into the new rear beam. To make mounting them a bit easier, I drew up a mounting ring and had some laser cut from 6mm steel. I needed to recess the new lamps, which called for a ring of 100mm internal diameter. This didn’t correspond to any common pipe sizes, so I ended up forming a ring out of 3mm steel, bending it around some 100mm steel bar using a thick sheet of rubber and my hydraulic press. It was slow going, but worked well.
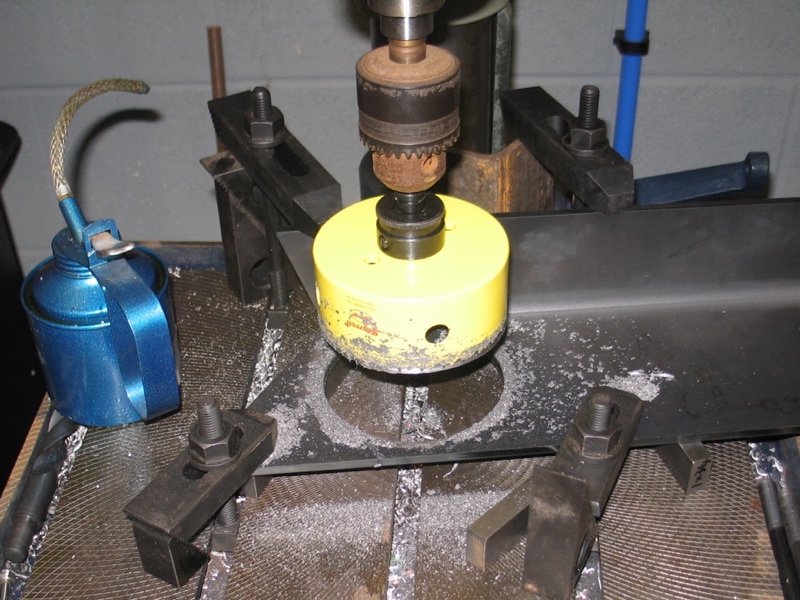
To mount these into the rear beam, I had to cut some holes. I couldn’t get these lasered out as the holes were too close to the bend line, so I had a 3mm pilot hole lasered out as a guide, then resorted to a holesaw.
I capped off the back of the fog lamp mounting rings and welded in a nut to take a cable gland. I tapped the rings to take a couple of M4 screws to hold the lamp units in.
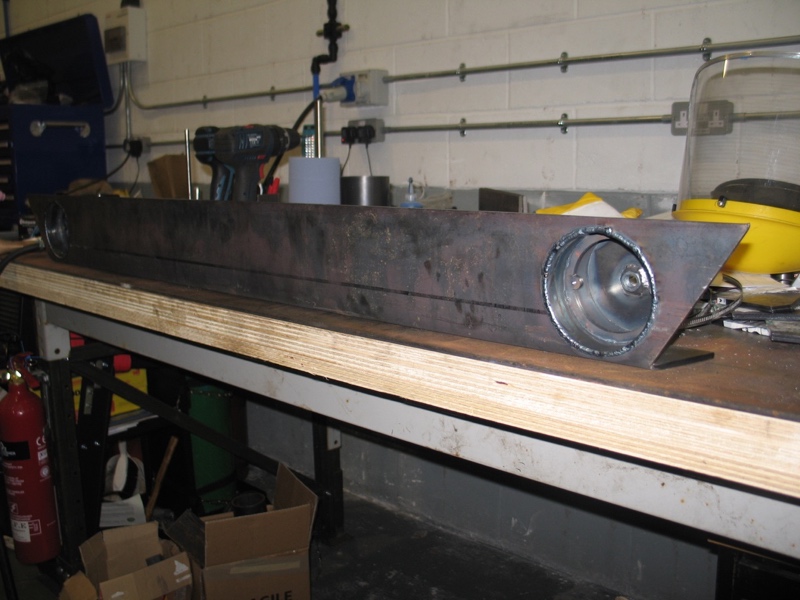
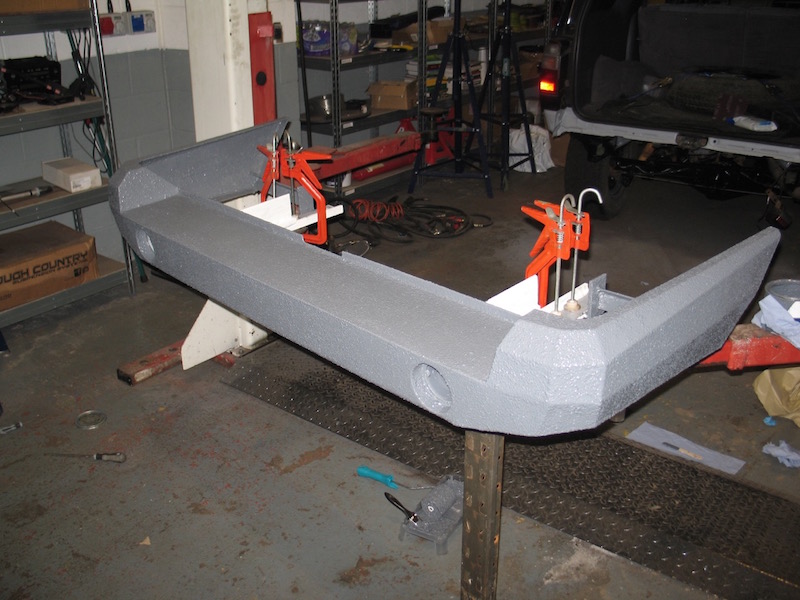
The next stage of the build went quickly, as it was just a case of following the plans, welding bits together.
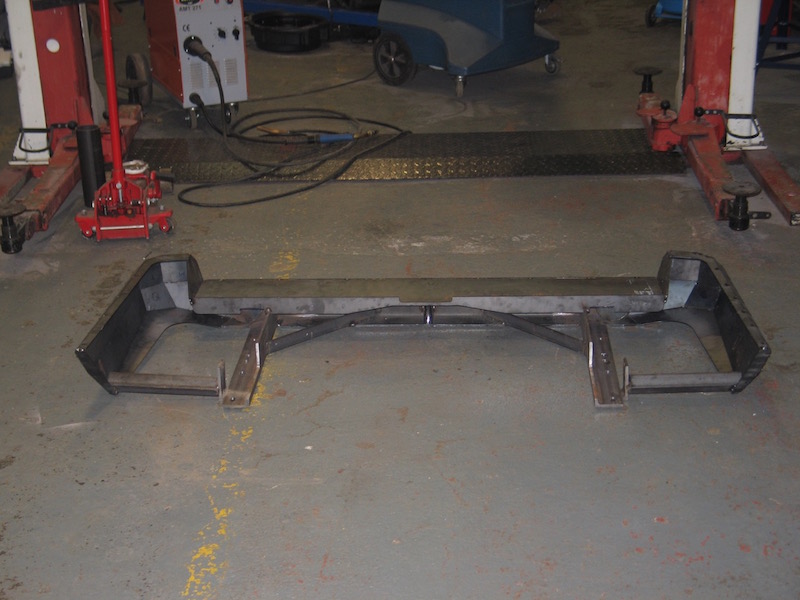
At this point, I realised that the bumper was sitting a little too low for my liking. My Surf is one of the earliest 3rd Gens, so I guess there were a few differences between mine and Jeremy’s later model. Nothing that can’t be fixed with an angle grinder and some 16mm square steel bar.

After lots of welding and grinding, I had the bumper blasted and epoxy primed by D & N Shotblasting, just down the road from me. The mill scale was rock solid and I didn’t fancy removing it by hand! I gave it another coat of epoxy mastic, followed by three coats of Protectakote UVR.
With that done, it was time to look at the chassis mountings. My surf had a couple of captive nuts inside both chassis rails for mounting recovery eyes. I’m glad I checked these, as the captive nuts were quite literally rusted through!
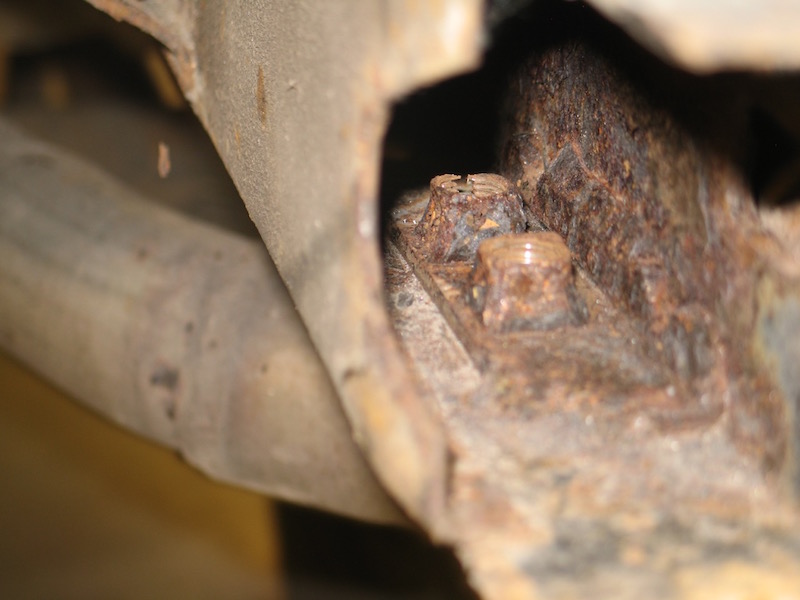
I ground all four of the rusted captive nuts away, managing to just reach them with a 5" die grinder with a long burr. All the surface rust on the rear chassis was attacked with a needle scaler and treated. It looks much better now!
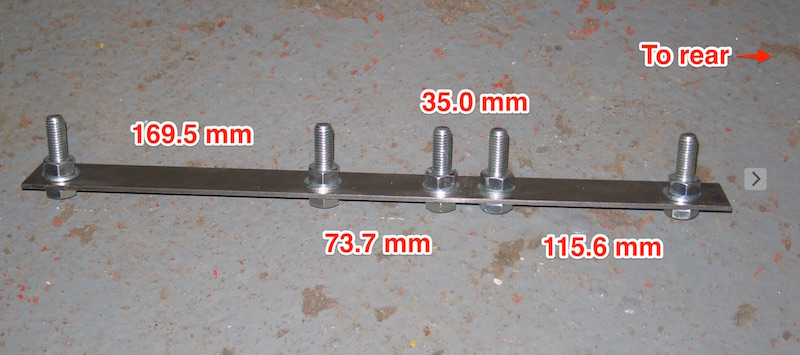
I wanted to pick up on five existing mounting holes in each chassis rail. Trying to measure their location accurately was awkward, so I made a template, of sorts. I drilled some oversize holes in the approximate locations in some bar stock to hold some M12 nuts and bolts. This allowed me to adjust their positions so that they lined up with the holes in the chassis, before nipping them up. Here’s the centre-to-centre hole spacing I measured:
Now, I could’ve welded some replacement nuts in (at least on the holes nearest the end of the chassis rails), but the heat would reduce the strength of the nuts. Not something you want when you might want to rely on them for a recovery. I drew up a nut holder which I had cut out of 12mm steel – essentially a 35mm disc with a 19mm AF hex cutout to take an M12 nut. I welded 5 of these onto a piece of steel flat for each chassis rail.
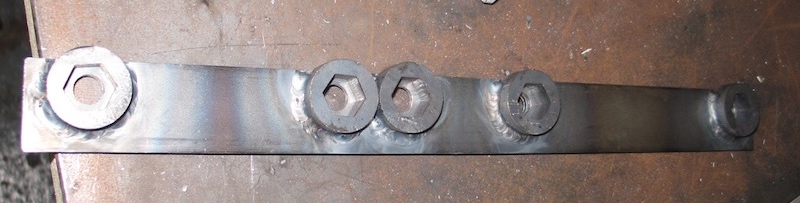
On the bottom of the plate, I welded a couple of washers to three of the five bolt holes to act as spacers. This was necessary to clear the factory reinforcement plate that the original two captive nuts were welded to.
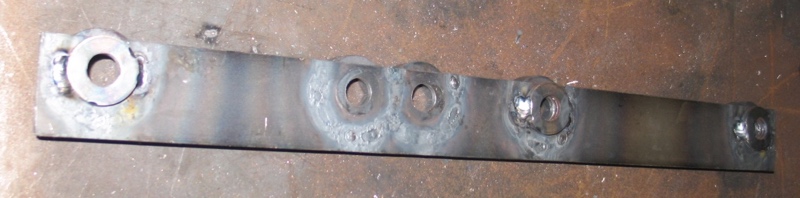
After dropping M12 x 1.25mm pitch nuts into the holders, I staked them in place using a centre punch.

A coat of epoxy mastic later, these nut plates were slid into the ends of the chassis rails. With that done, I was able to finally bolt the bumper up.
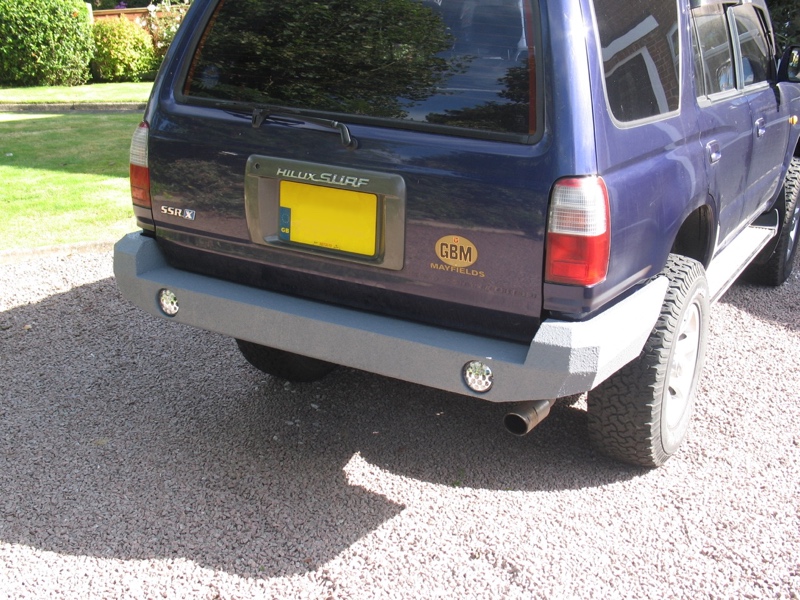
Should last a while, I think.